
Matrix MIDI Controller
Description
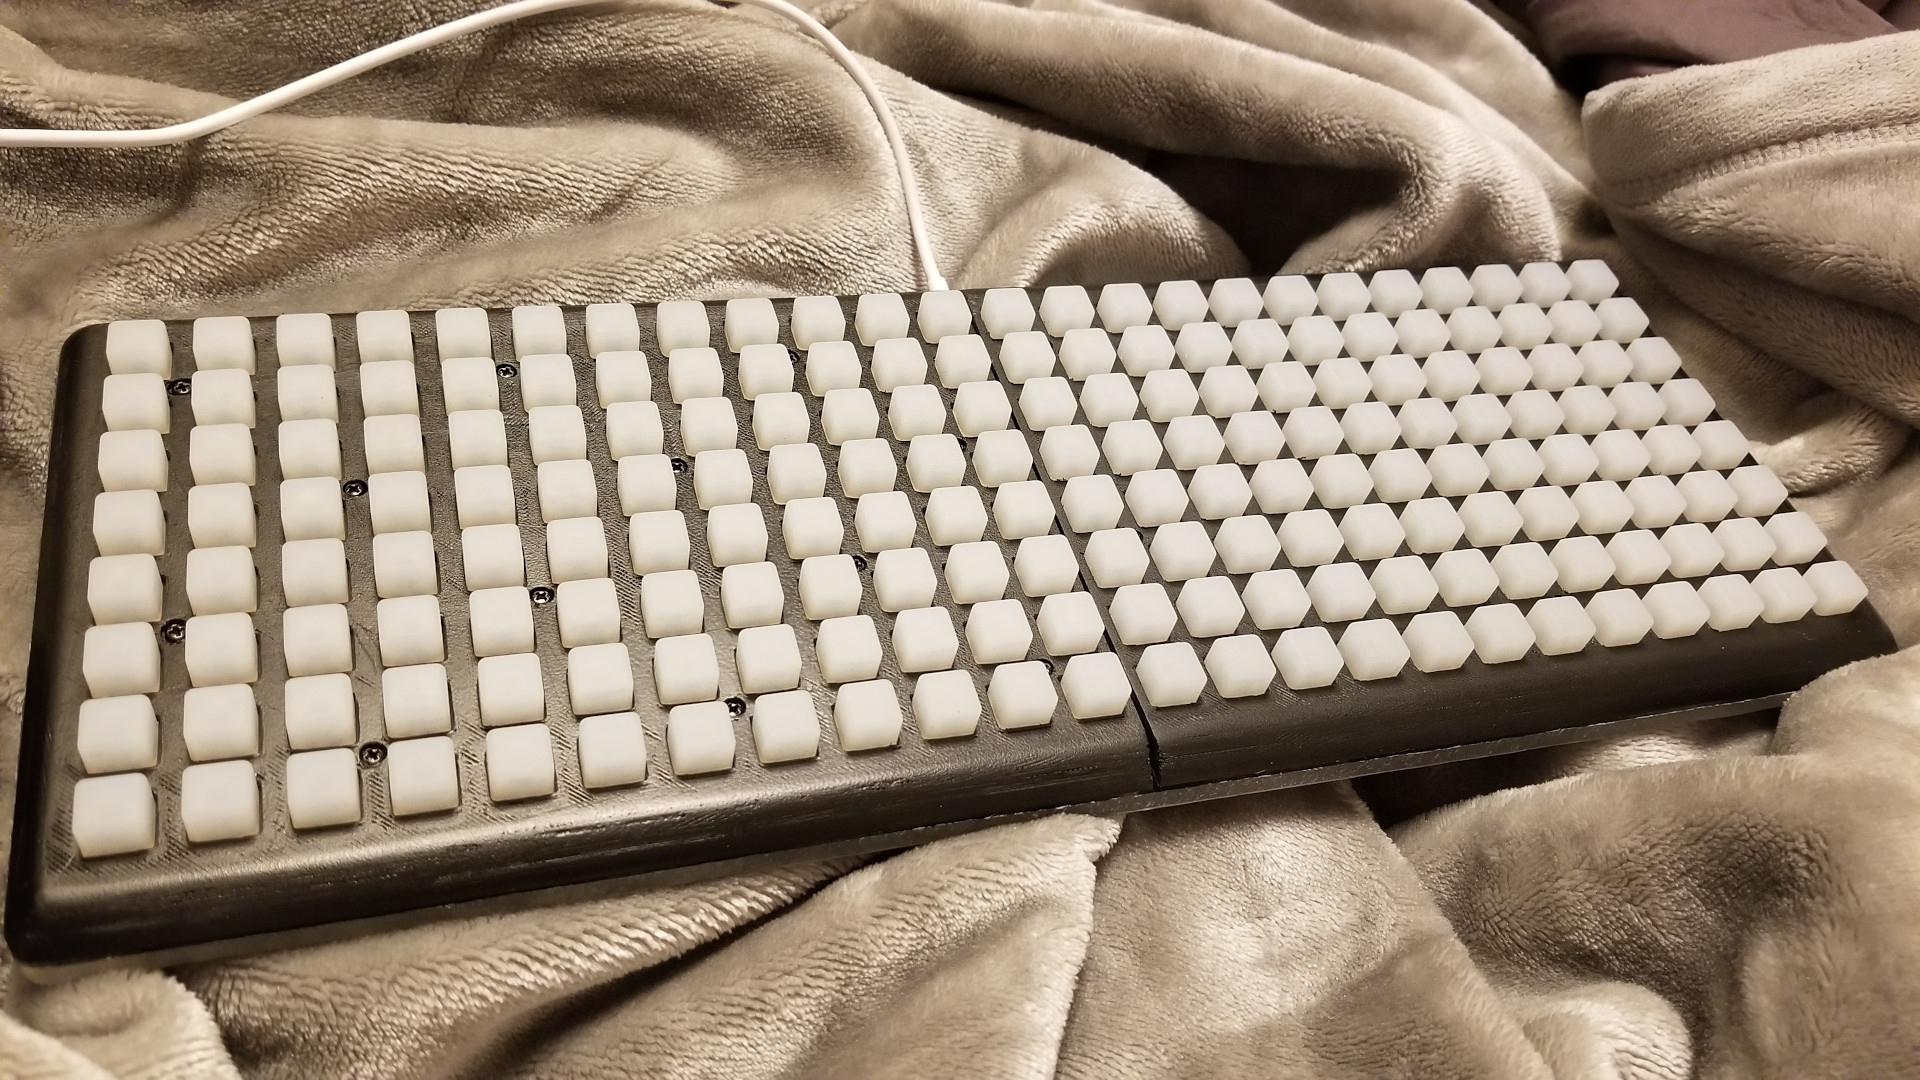
A simple and affordable DIY prototype of a non-standard MIDI controller based on Teensy & Adafruit NeoTrellis boards. Inspired by premium-class devices like Monome Grid and Linnstrument.
Authors
- Original design, basic requirements, testing: John Halpart
- Hardware & Software realization: Rabit
Features
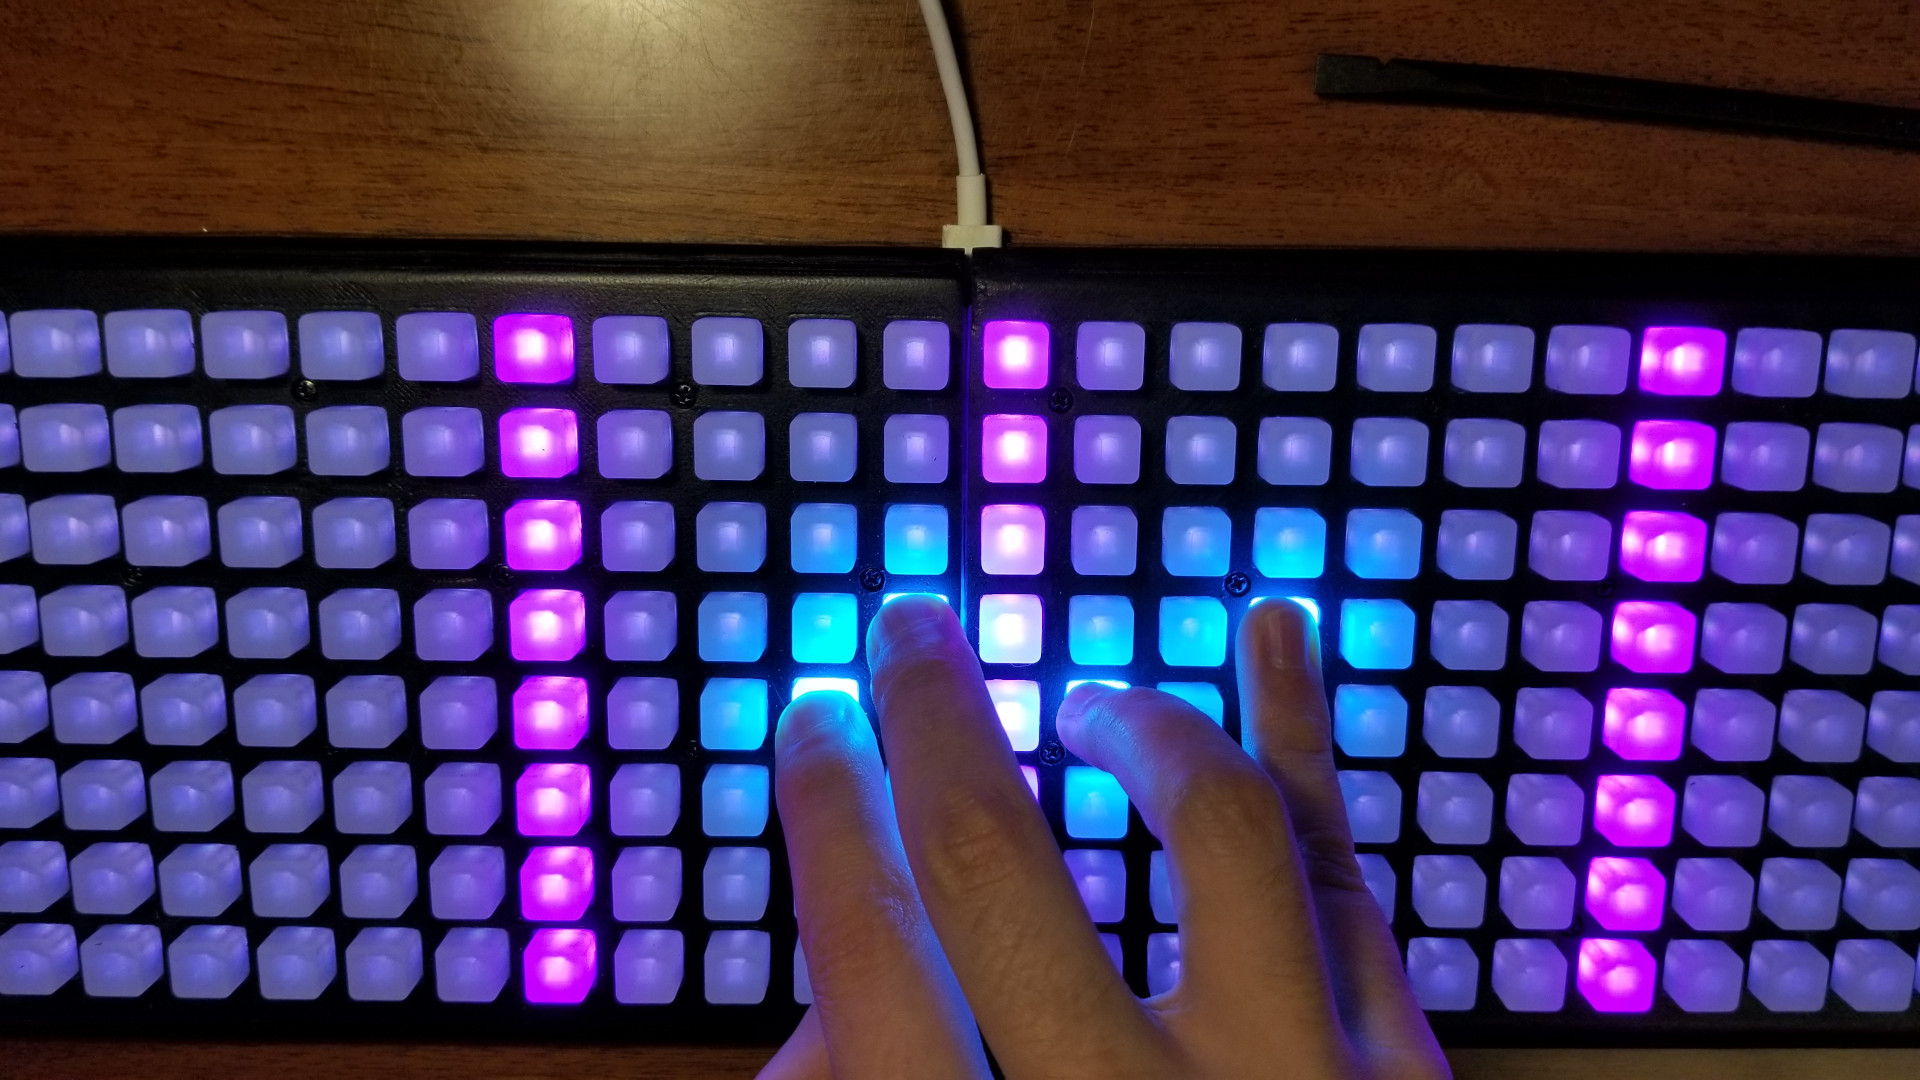
- USB MIDI output: multiple simultaneously active notes, pitch bend
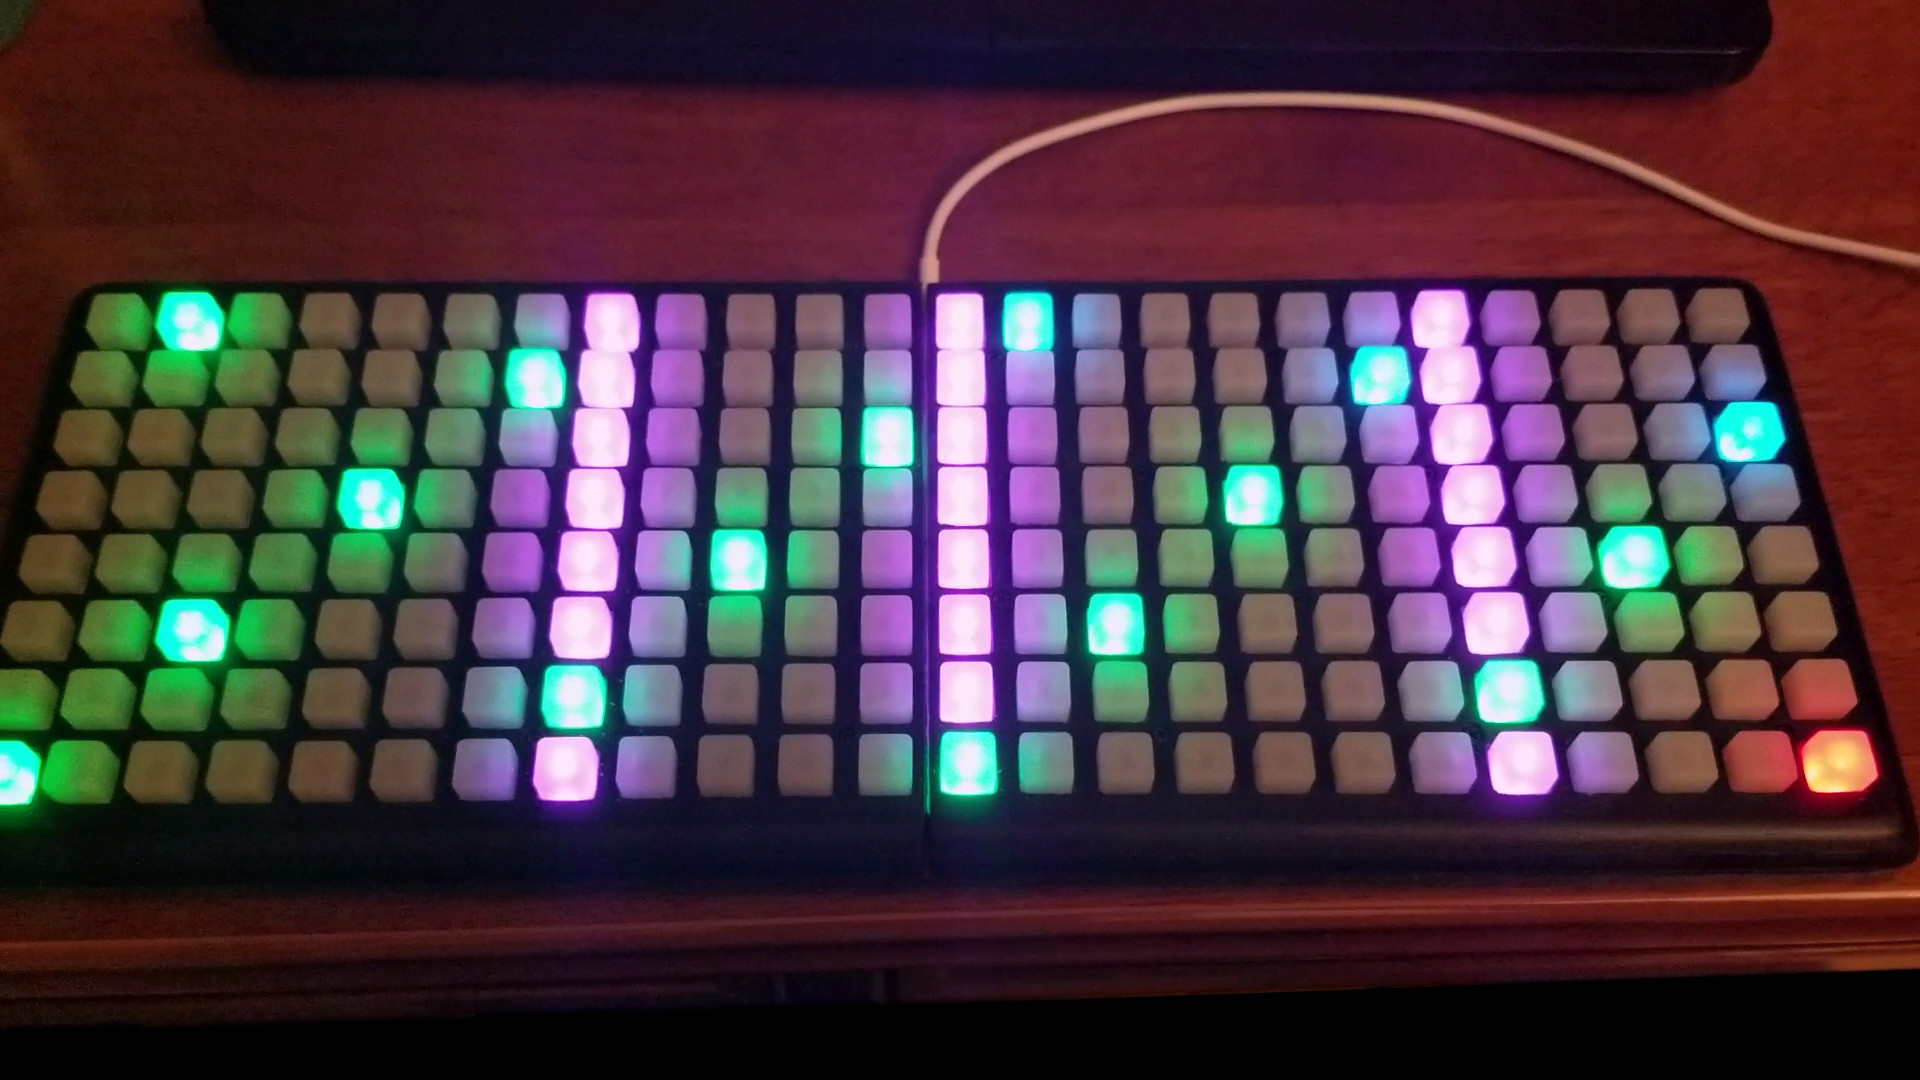
- USB MIDI input: key highlighting, clock indication
- Flexible keys & menu layouts (for the moment, by src change only)
- Adjustable brightness & multiple combinable options for keys’ highlighting
- Adjustable output velocity and tuning of the matrix
- Sliding text description of the menu buttons (via long press)
Plans
If somehow the project manages to get positive attention, a Kickstarter campaign and making of an improved $200-300 consumer-grade model is definitely a possibility. So don’t hesitate to tell us what you think of this :) In the meantime we are going to be expending the current prototype’s functionality.
Components
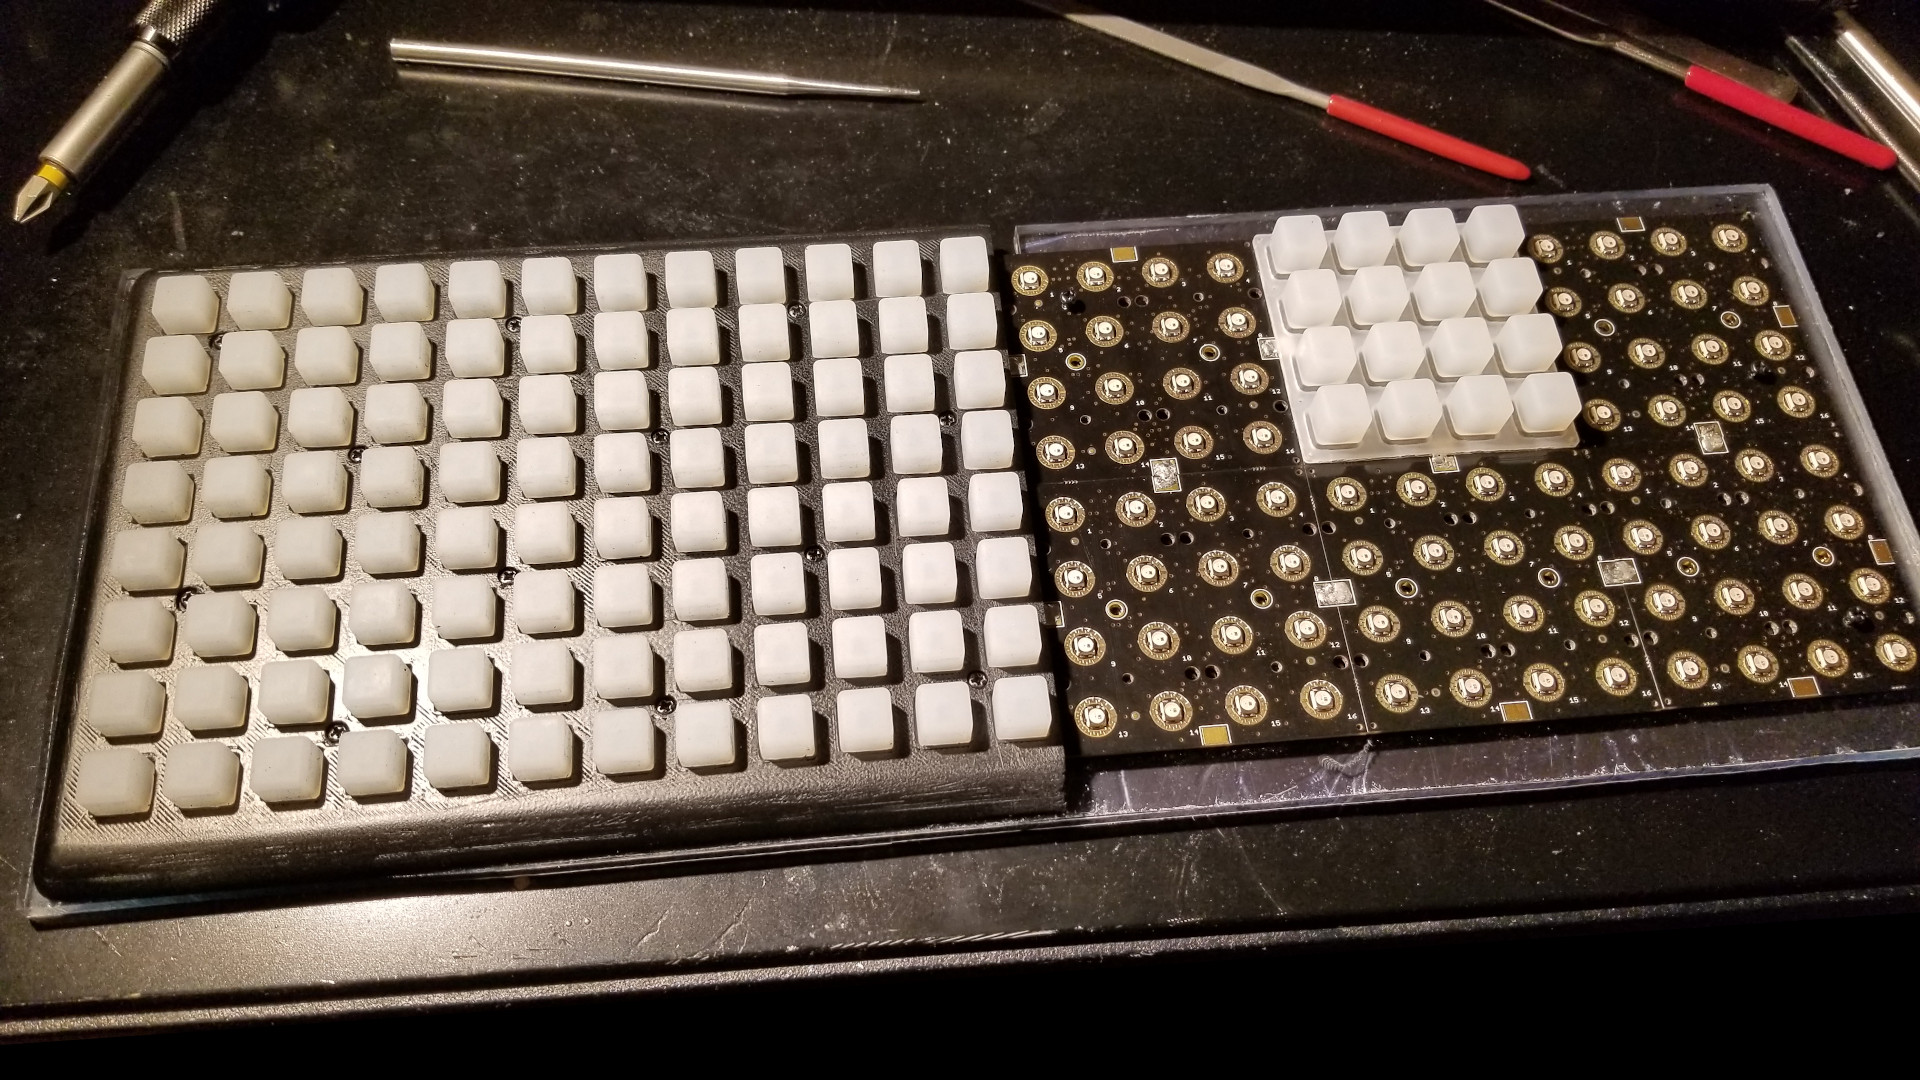
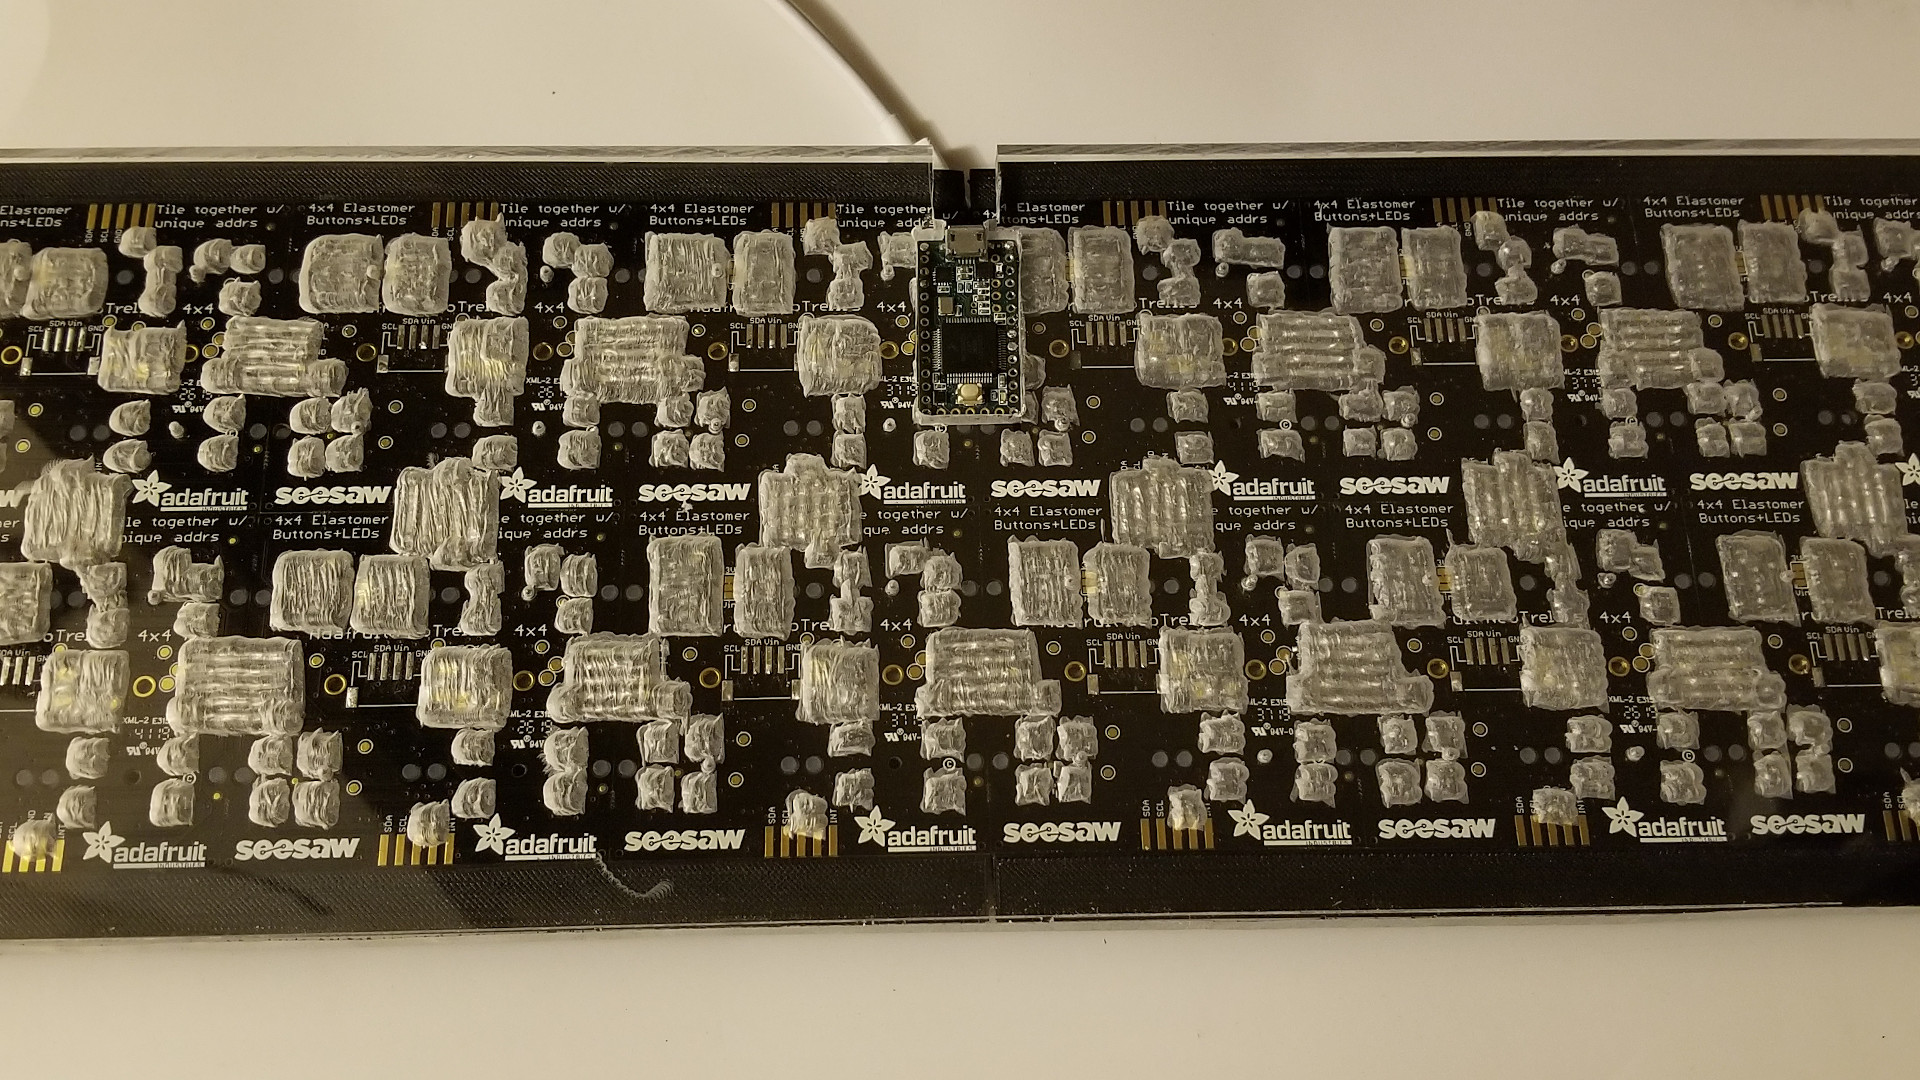
- 12x$11.25 Adafruit NeoTrellis RGB Driver PCB for 4x4 Keypad - Adafruit Amazon
- 12x$4.46 Silicone Elastomer 4x4 Button Keypad - for 3mm LEDs - Adafruit Amazon
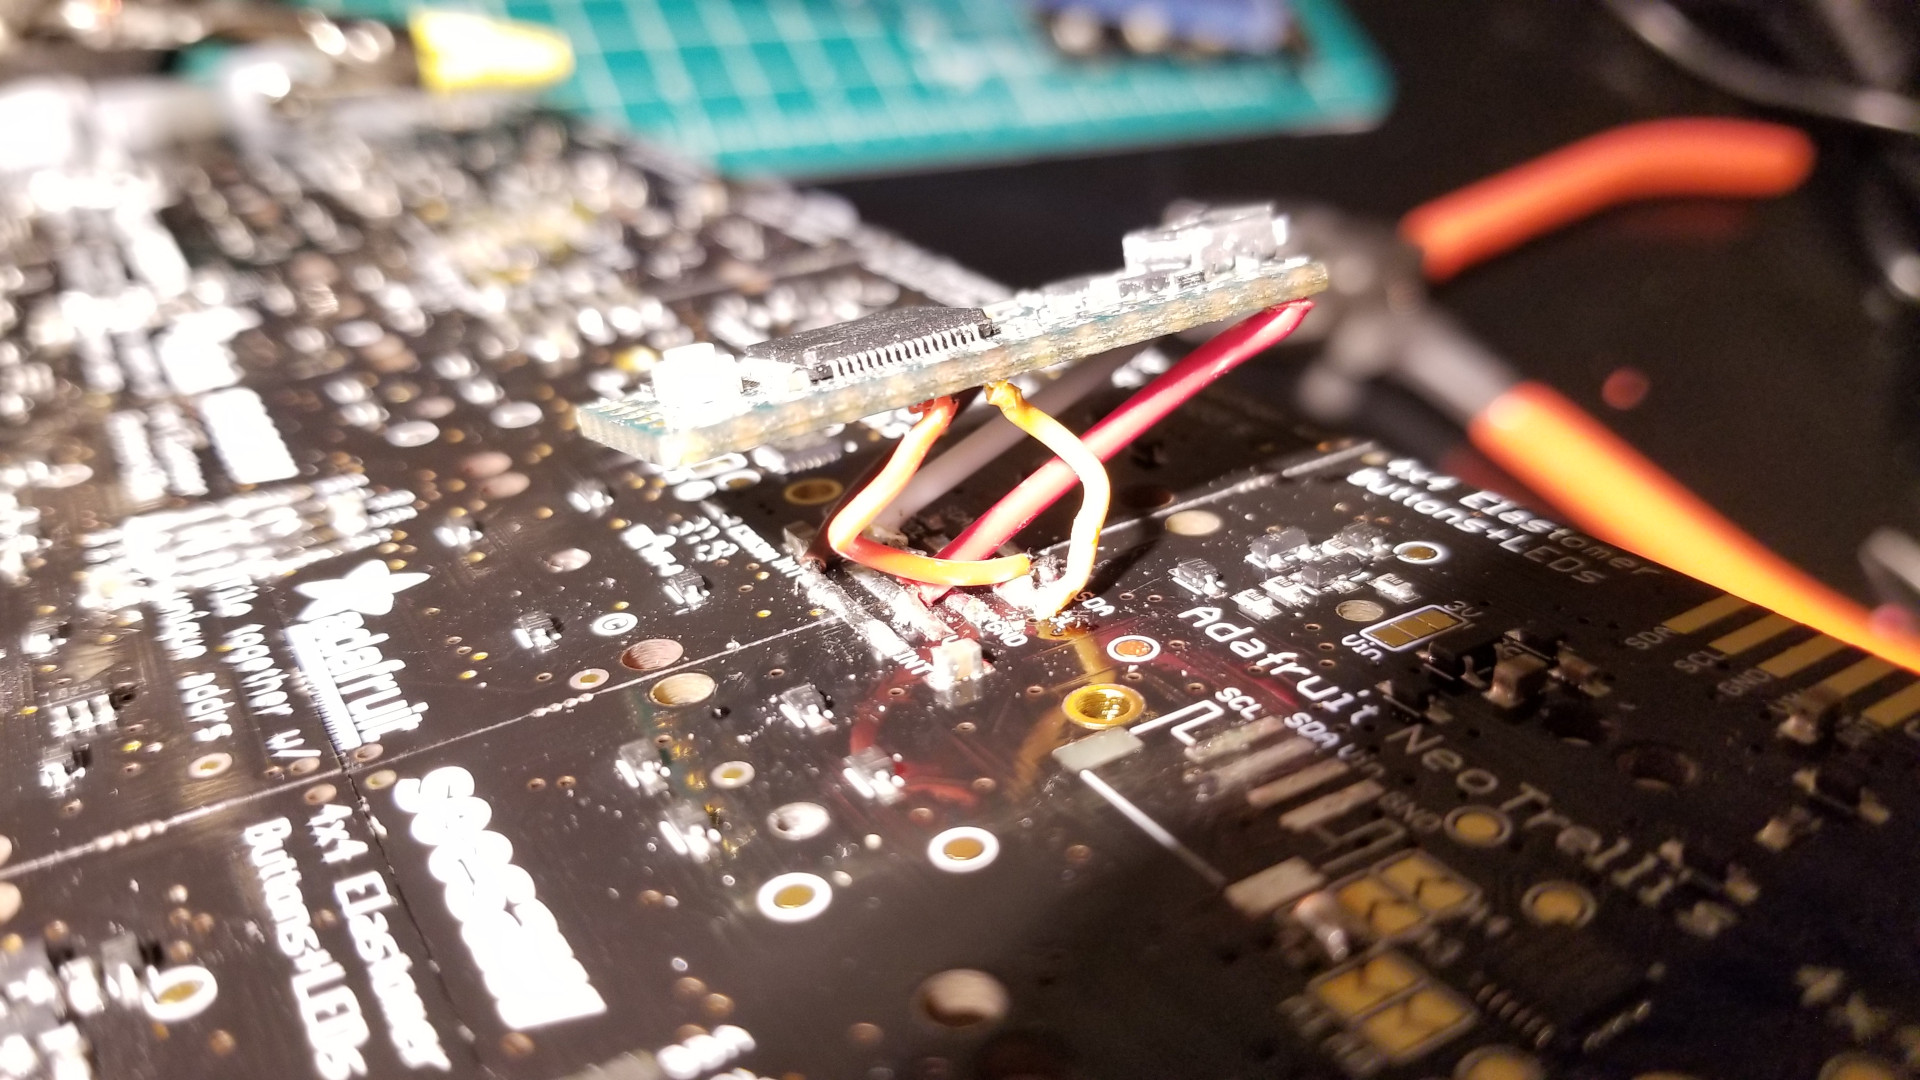
- $19.80 Teensy 3.2 - PJRC Amazon
- Certain amount of wires and small crews, a micro-usb cable, 3D-printed enclosure (you can use our model of the top cover)
Total cost: ~$210
Options
- You can use a different development board, as long as it supports i2c & USB MIDI
- You can also try a different amount of NeoTrellis boards and/or put them together in a different configuration
If you make changes to the hardware, you will most likely have to adjust the source code.
Known issues
- Adafruit NeoTrellis PCB:
- On press, the silicone buttons can touch the LED terminals, which activates the entire vertical line of button on the board. You may have to insulate the terminals with adhesive or apply some other fix.
- Said buttons weren’t exactly made with musical instruments in mind: they are quite stiff and definitely take time to get used to.
For reported bugs and upcoming features check the issues page on GitHub:
Arduino IDE & build
A good place to start would be the Teensy board page:
To build - open the sketch with Arduino IDE and click the Verify button. To flash - connect the Teensy board, select the port, and click the Upload button.
Configs
- Board: Teensy 3.2
- USB Type: Serial + MIDI
- CPU Speed: 72MHz
OpenSource
This is an experimental project. The main goal is to test State of the Art philosophy in practice.
We would love to see independent developers working on the project’s issues: for fun and interest as well as for monetary compensation (say, attached to the tickets).
License
The repository and its contents are covered by Apache v2.0, so anyone can use it without any concerns.
If you have any changes you’d like to share, don’t hesitate to make a pull-request and push them into the original repository. Definitely no pressure though.